Edubuntu is Ubuntu GNU/Linux customised for schools, containing additional applications for young human beings, administration tools for school management, and a built-in terminal server. Besides the standard software available on the Edubuntu CD, you will also find a world of software in the Edubuntu Universe, an on-line repository containing more than 10GB of community contributed software.
First thing is you need to download Edubuntu Latest version from here
Once you have the .iso image create a CD with this .iso image and boot from this cd once it starts booting from edubuntu linux cd you should see the following screen

In the above screen you can see the following options to choose your installation
Install to hard disk – will install a terminal server. Use this option if you’d like to boot from diskless thin clients into this machine. Note that a terminal server requires at least 150MB RAM per client that will be logging into this server. The server will also need a powerful CPU, such as an Intel Xeon processor. To install a terminal server, simply press ENTER here.
Install a workstion – will install a single workstation. This is essentially the same as the first option, except that it doesn’t include the terminal server setup, or any other server side software (such as Schooltool). Use the arrow keys to navigate one level down, and press ENTER.
Check CD for defects – will scan the installation CD for any defects that might have been caused during downloading or burning the CD. It’s advised that you do this first before continuing with the installation.
Rescue a broken system – contains tools for fixing your Edubuntu system when things go wrong.
Boot from first hard disk – allows you to boot to your hard disk, useful when you’ve accidentally booted from the CD.
In this installation i am choosing Install to hard disk option and press enter.
Choose you language and press enter you can see we have selected english in the follwoing screen

Choose your location and press enter you can see we have have selected United Kingdom in the follwoing screen

Select keyboard layout and press enter

Detecting hardware to find CD-ROM Drivers in progress

Loading additional components progress bar

Detecting Network Hardware in Progress

Enter your ip address here and in this example we are using 172.20.22.11 and click on continue

Enter subnet mask and in this example we are using 255.255.255.0 and click on continue

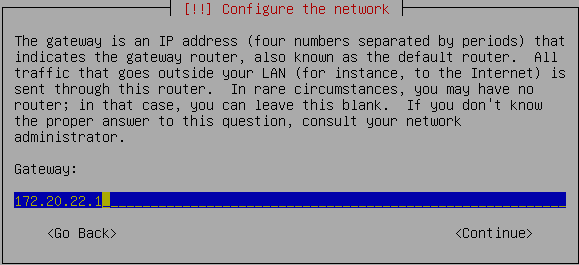
Enter Gateway and in this example we are using 172.20.22.1 and click on continue
Enter Name server address and in this example we are using 172.20.22.1 and click on continue

If you have a HTTP proxy enter those details and click on continue

Detecting Disks and Hardware in progress
Startingup the partitioner in progress

you have to partition your hard disk in this i have selected manually edit the partition table and press enter

It will show you the hard disk space and press enter here i am using vmware with 10.7GB of space

Create a New partition table on the device select yes and press enter

Now you can see the freespace and press enter

How to use this freespace select create a new partition and press enter

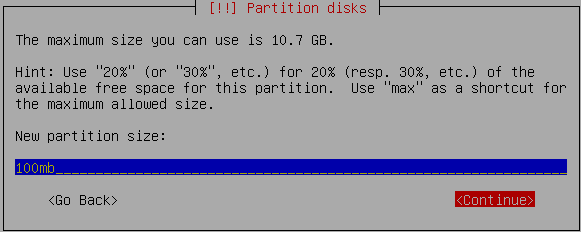
Enter the new patition size and press continue i have entered 100mb in this example
Select the type of the partition and press enter in this example i have selected primary

Location for the new partition as begining and press enter

Now you need to select the mount point with the following screen and press enter to change mount point

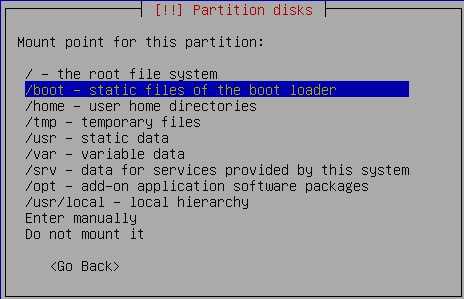
Now you can see the available mount points and here i have selected /boot mount point and press enter
Now you should see the following screen and here you need to select “Done Setting Up the Partition” option and press enter This will create the /boot mount point with 100mb of space and you can create the / mount point in the same way with the existing space.

you can see this in the following screen here you need to select “Finish partitioning and write changes to disk” option and press enter

Write the changes to disk option here you need to select yes and press enter

Creating ext3 filesystem in progress

Configuring the clock option here if you want to leave UTC Select yes otherwise no and press enter

You need enter the Full name of the user you want to create for your server in this example i have created test user select continue and press enter

username for your account in this i have entered test select continue and press enter

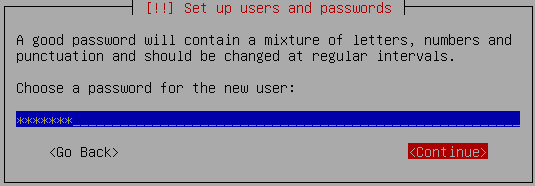
Entered the password for test user select continue and press enter
Confirm the password for test user select continue and press enter

Installing the base system in progress

if you chose to install a terminal server, you will also notice it building the “LTSP chroot”. This is another Linux system that will be installed within Edubuntu. This is the system that the thin clients will boot from, which we will often refer to as the “thin client environment” or the “LTSP chroot”.

Configuring package mirror this will be related to your country option

Selecting and Installing software in progress

Select the resolutions that your display / card is capable of. If you’re unsure, simply press ENTER, the installer should detect the correct capabilities of your hardware.

Installing GRUB Boot loader in progress

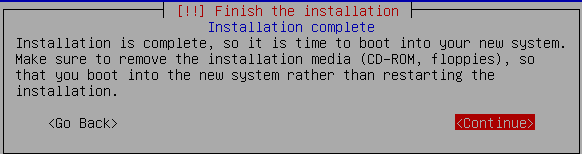
Installation complete message here you need to remove your CD select continue and press enter it will reboot your server
After rebooting you can see the following screen prompt for username
[thumb:720:c:l=p]
This will complete the Edubuntu installation and you can start using your edubuntu linux for your school children and management.
If you want to see Edubuntu Screenshots Gallary check here